



Squat Form: How to Squat Correctly and Protect Your Knees
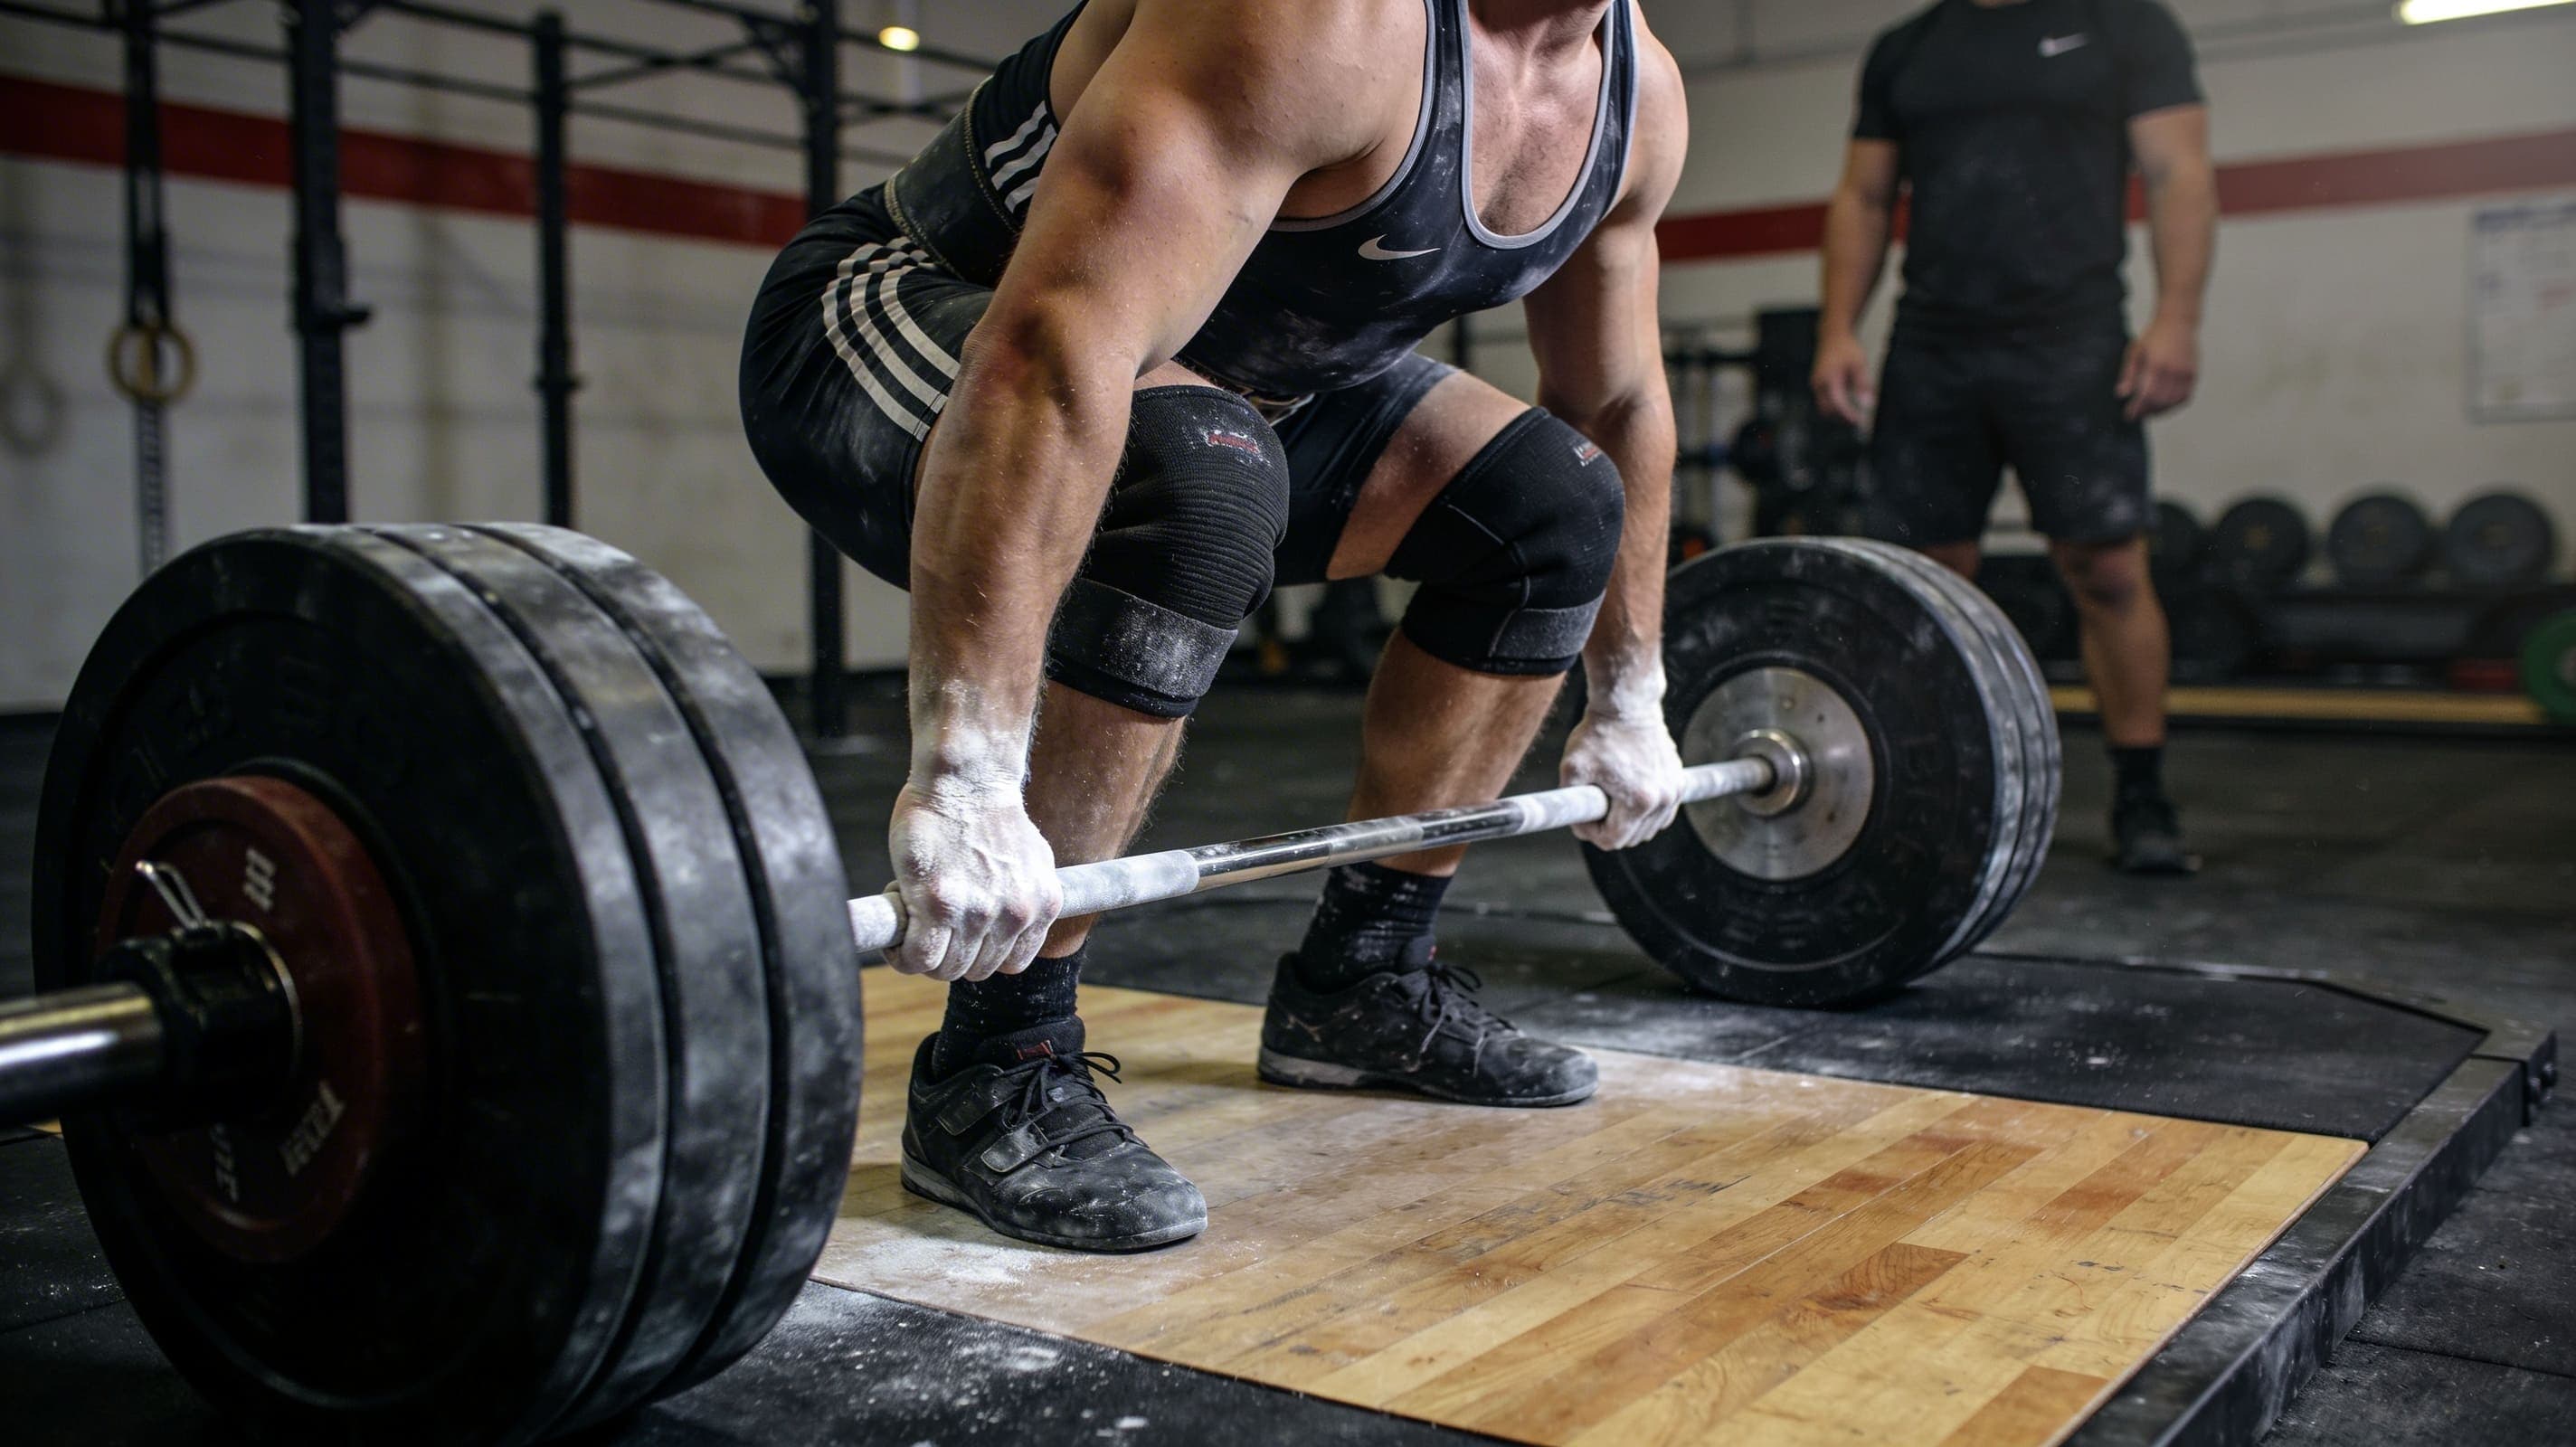
The squat is often called the king of exercises. It trains most of your lower body in a single movement, builds strength, muscle and mobility, and shows up in every serious program. But you only get those benefits with good squat form. This guide explains how to squat step by step, which muscles squats work, how deep to go, the best variations and the mistakes to fix so you can progress without knee or back pain.
Squat Muscles Worked
The squat is a compound movement: your ankles, knees and hips bend at the same time. That is what makes it so effective.
| Muscle | Role in the squat | How hard it works |
|---|---|---|
| Quadriceps | Straighten the knee on the way up | Very high |
| Glutes (gluteus maximus) | Extend the hip, especially out of the bottom | Very high (rises with depth) |
| Adductors | Help extend the hip | High |
| Hamstrings | Stabilize the knee and hip | Moderate |
| Spinal erectors | Keep the back neutral | High (isometric) |
| Abs and obliques | Brace the trunk and transfer force | High (isometric) |
| Calves | Stabilize the ankle | Low to moderate |
The key point: squats mostly build your quads, glutes and adductors. Your hamstrings do relatively little, so pair squats with Romanian deadlifts or leg curls.
How to Squat: Step-by-Step Form
We will use the high-bar back squat (bar on your upper traps) as the example, since it is the most common version. The same principles apply to the goblet squat and the bodyweight squat.
1. Set the Bar
- Set the bar at roughly upper-chest height in the rack.
- Step under it and rest it on your upper traps, not on the bones of your neck.
- Grip slightly wider than your shoulders and pull your elbows down to create a solid muscular shelf.
- Unrack with both feet under the bar, then take two or three small steps back.
2. Foot Position
- Feet about shoulder width apart, or slightly wider.
- Toes turned out 15 to 30°.
- Weight spread over the whole foot: heel, big-toe base and pinky-toe base.
There is no one perfect stance for everyone: the length of your thigh bones and the shape of your hips matter. Test a few stances with bodyweight and keep the one that lets you squat deepest with a neutral back.
3. Breathe and Brace
Before each rep, take a big breath into your belly (not your chest), then tighten your abs as if you were about to take a punch. Hold that breath through the descent and the start of the ascent. This is called the Valsalva maneuver: it stiffens your torso and protects your spine. Exhale at the top, breathe in again and repeat.
4. The Descent
- Start by bending your hips and knees at the same time.
- Push your knees out in line with your toes.
- Keep your torso tight: it naturally leans forward a bit, but your back stays neutral.
- Lower yourself over two to three seconds, under control.
5. Depth
Aim for at least parallel: the crease of your hip reaches the top of your knee. Going deeper works the glutes and adductors more and is perfectly safe as long as your back stays neutral. The only limit is the point where your pelvis tucks under and your lower back rounds (often called "butt wink"). Stop just above it.
6. The Ascent
- Push through your whole foot, as if you were trying to spread the floor apart.
- Hips and shoulders rise at the same speed: if your hips shoot up first, the squat turns into a good morning.
- Keep your knees out all the way up.
- Exhale at the top without slamming your knees into lockout.
Common Squat Form Mistakes
| Mistake | Likely cause | Fix |
|---|---|---|
| Knees caving in | Weak glute and adductor control, weight too heavy | Cue "spread the floor", lower the weight, squat with a mini band above the knees |
| Heels lifting | Limited ankle mobility | Small plates under the heels, lifting shoes, ankle mobility work |
| Lower back rounding at the bottom | Squatting deeper than your current mobility allows | Limit depth, goblet squats, hip mobility |
| Hips shooting up first | Tired or weak quads | Pause squats, front squats, lighter weight |
| Cutting depth | Weight too heavy, fear of going low | Box squat to a bench at the right height, lower the weight |
| Looking at the ceiling | Habit | Fix your gaze on the floor about 6 feet ahead |
Squats and Your Knees: What You Really Need to Know
Many beginners avoid squats because they are worried about their knees. In reality, a well-performed squat with gradually increasing weight strengthens the muscles and tendons that protect the joint. A few myths worth clearing up:
- "Deep squats are bad for your knees": not true for healthy people. Knee stress does not climb in a problematic way below parallel, and glute work is better there.
- "Your knees should never pass your toes": not true. For most people, it is required to reach depth while keeping the torso upright enough.
- "Lock your knees hard at the top": unnecessary. Finish with straight legs without snapping the joint.
What actually hurts knees: knees caving in under load, adding weight too fast and too much volume without recovery. If you have a history of knee injury, have your form checked by a professional before you load up.
The Best Squat Variations
Goblet Squat
Hold a dumbbell or kettlebell against your chest. It is the best way to learn how to squat: the weight in front helps you stay upright and sit deep. Ideal for your first four to eight weeks.
Low-Bar Squat
The bar sits lower, across the rear delts. Your torso leans more and your hips do more of the work. It often lets you lift a bit more weight and is popular in powerlifting.
Front Squat
The bar rests on the front of your shoulders. Your torso stays very upright, the quads work harder and the lower back is under less stress. It requires good wrist and upper-back mobility.
Bulgarian Split Squat
Rear foot on a bench behind you. Excellent for glutes and quads, for fixing imbalances and for training hard with light weights. A great alternative if barbell squats bother you.
Leg Press and Hack Squat
Machines that copy the squat pattern without the balance demand. Great as an accessory or if your back is cranky. You can find all of these variations, with coaching cues, in our exercise database.
Bodyweight Squat Progression for Beginners
No gym yet, or easing back in after a break? The bodyweight squat is a great entry point. Follow this progression over four to six weeks:
- Box squat to a chair: lower until you lightly touch the seat, then stand up without sitting down. 3 x 12-15.
- Full bodyweight squat: arms straight out in front for balance. 3 x 15-20.
- Tempo squat: three to four seconds down, one-second pause at the bottom. 3 x 10-12.
- Bodyweight Bulgarian split squat: 3 x 8-12 per leg.
- Goblet squat with a loaded backpack or dumbbell: 3 x 10-12.
Once you can do 20 clean bodyweight reps, it is time to add weight to keep progressing.
Improve Your Mobility to Squat Better
If you cannot reach parallel with a neutral back, mobility is often the limiting factor. Three drills to do for five minutes before you train:
- Knee-to-wall ankle mobilization: foot about 4 inches from the wall, drive your knee forward to touch the wall without lifting your heel. 2 x 10 per side.
- Deep squat hold: bodyweight, holding onto a support if needed. Stay at the bottom for 30 to 60 seconds, pushing your knees out with your elbows.
- Hip flexor stretch (90/90 or low lunge): 30 seconds per side to open the front of the hips.
How to Program the Squat
For Beginners
Start with goblet squats for three to six weeks, two or three times per week, for 3 sets of 10 to 12 reps. Then move to the barbell back squat with a light load and use a simple progression: add 5 to 10 lb per week as long as every set stays clean. The squat fits perfectly into a full body workout plan.
Rep Ranges by Goal
| Goal | Sets x reps | Intensity (% of 1RM) | Rest |
|---|---|---|---|
| Strength | 3-5 x 3-5 | 80-90% | 3-5 min |
| Muscle growth | 3-4 x 6-12 | 65-80% | 2-3 min |
| Technique practice | 3 x 8-12 | 50-65% | 90 sec-2 min |
To find your percentages without testing a risky max, use the estimated one rep max from the mebody workout tracker with a set of 3 to 8 reps.
Warm-Up Before a Heavy Set
Example for working sets at 225 lb: empty bar 2 x 8, 115 lb x 5, 155 lb x 3, 185 lb x 2, 205 lb x 1, then your working sets. Add five minutes on the bike and your mobility routine at the start.
Squat Shoes, Belts and Other Gear
You do not need special gear to squat well, but a few items can help once the basics are solid.
- Flat, stable shoes: avoid soft running shoes that squish under load. Flat training shoes or simply squatting in socks on a stable floor give you a solid base.
- Lifting shoes: a raised heel (usually around 0.6 to 0.8 inch) makes it easier to stay upright and reach depth if your ankle mobility is limited. Especially useful for front squats.
- Belt: a lifting belt gives your abs something to brace against and can help on heavy sets. Learn to brace without one first, then use it only on your heaviest work.
- Knee sleeves: they keep the joint warm and can feel more comfortable, but they do not fix poor technique.
- Chalk: helps you grip the bar firmly on your back so it does not slide.
Squat Safety Basics
- Always squat in a rack with the safety arms set just below your bottom position.
- No heavy squats to failure when you train alone.
- A belt is not necessary for beginners: learn to brace without one first.
- Sharp joint pain (as opposed to muscle fatigue) is a signal to stop. See a healthcare professional if it persists.
Track Your Squat Progress
The squat climbs fast in the first months: many beginners double their working weight within three to six months. To keep that momentum, log every session: weight, sets, reps and how it felt. In mebody, every logged set feeds your progress chart and estimated 1RM, and the app suggests your next weight based on your recent performance. You can generate a workout plan that builds the squat in at your level, and the 14-day Pro trial is free.
Key Takeaways
- Feet about shoulder width, toes slightly out, weight over the whole foot.
- Breathe, brace, descend under control, knees tracking over your toes.
- Reach at least parallel, deeper if your back stays neutral.
- Start with goblet squats, then move to the barbell.
- Progress in small jumps and log every session.
Ready to progress?
mebody adapts your program in real time based on your performance — no more generic plans.